
Crashlytics in React Native
Quick Summary: The article focuses on integrating crashlytics in React Native, demonstrating how to set up and use the library and investigate crashes effectively.
Introduction
An app developer’s life is filled with truths, including that there will always be a few bugs in the code, regardless of how many code reviews you conduct and how rigorously you test your app with crashlytics in React Native.
After your app is released on a store, you may find it challenging to debug bugs and crashes since your users may not be willing to share their information. Users leave a bad review on the store and delete your app when unhappy. To deliver an excellent customer experience, developers must be aware of these situations. You’ll need the right tools to respond immediately to potential bugs and crashes. In this case, developers can use Crashlytics, a neat solution.
What is Crashlytics?
Crashlytics is a real-time crash reporting tool that can be helpful for your mobile app to find crashes while it’s already published or underdeveloped. This way you can easily find bugs in your application. Now many platforms are available to bind Crashlytics in your application. for example sentry.io, firebase, Instabug, bugsnag, and many more.
Why should we use Crashlytics?
Let’s just say you have recently published your app but you haven’t integrated Crashlytics so how you are going to know the crashes which are happening at the end-user. They are not going to report each and everyone crashes right? Instead, if we have this feature we can easily identify the details of crashes right away car accident lawyer San Diego.
Integrate Firebase Crashlytics in React Native
-
- First of all, you should have a firebase Crashlytics account. account.
- Now, go to the firebase console to create your project.
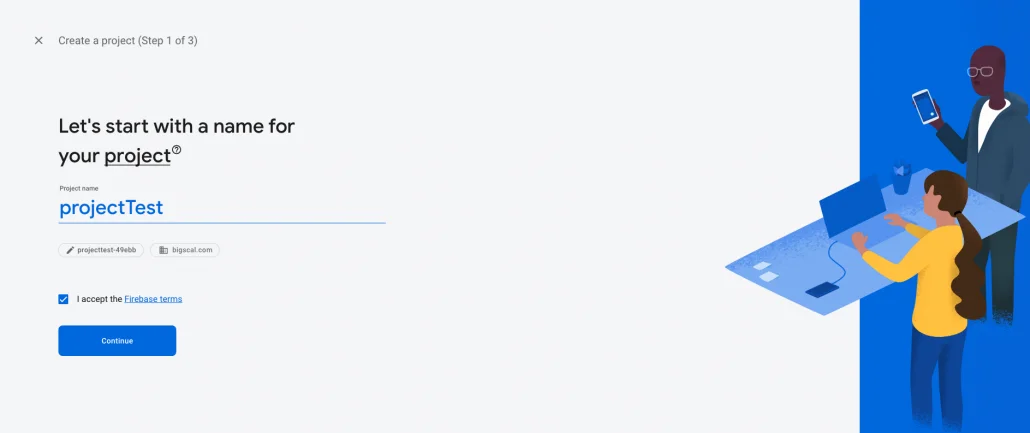
- Now you will get this window to write down the name of the project, After this just click on continue.
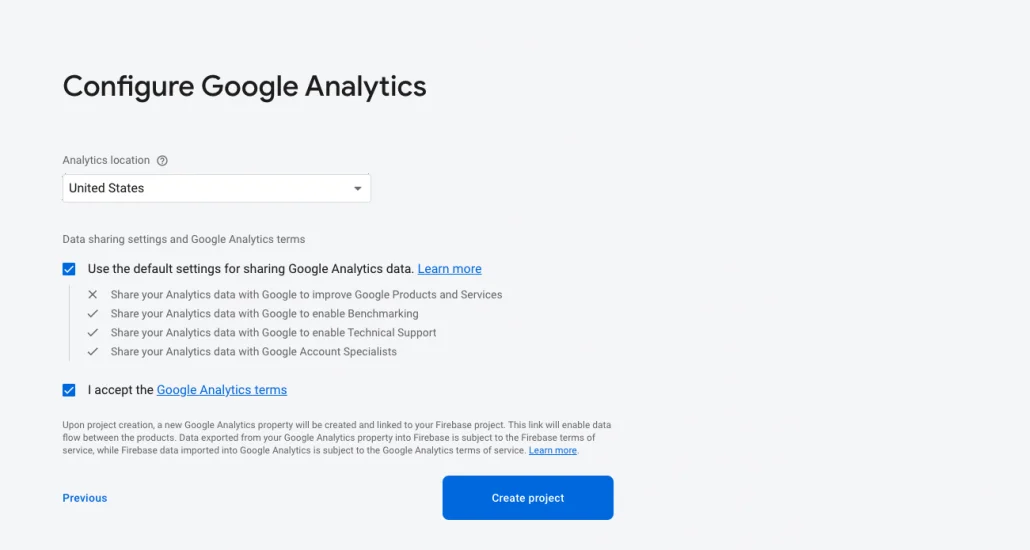
- After there will be the window to configure google analytics. just checkmark their terms and condition and you are good to go.
- You will get many more features in your created project but here we are going to highlight only the Crashlytics. So, go to Release & Monitor section and select Crashlytics from there you will find the entry point to create an app for ios, android, and unity. We need to register our apps in this project to utilize Crashlytics.

- Create your iOS app by clicking on the iOS and entering the following details like add bundle id from your iOS application and then give the name of this app and app store Id which is optional so if you don’t enter this will be okay.
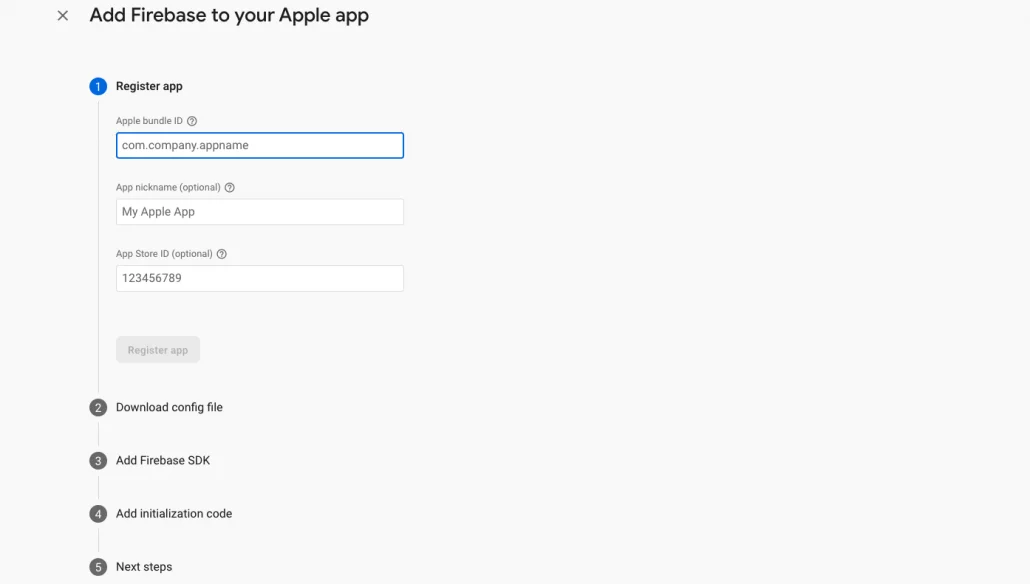
- The second step would be to download the config file and place this GoogleService-Info.list to your /ios/{projectName}. xcworkspace if you are using pods else place it under /ios/{projectName}.xcodeproj.
- Now we will create an android app for the same. click on android to create and add a package name. Here, app nickname and signing certificate SHA-1 is an option but you can add it as well.
- This is how you can get SHA-1 Key from your android application.
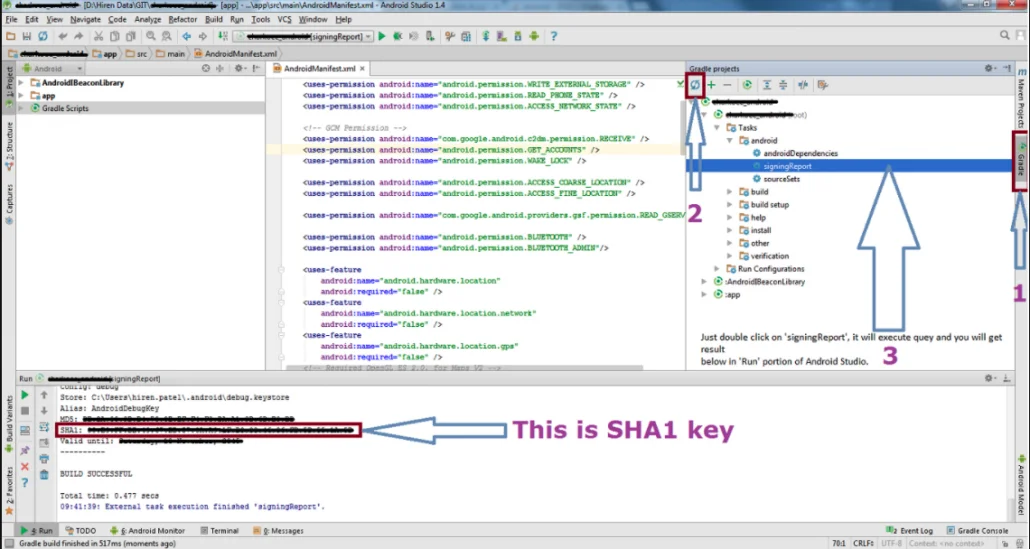
- Now add a google-service.json file to your android/app folder.
- Install react native firebase module to your react native application using yarn or npm:
- npm install –save @react-native-firebase/app or yarn add @react-native-firebase/app
- Install Crashlytics module with npm or yarn:
- yarn add @react-native-firebase/Crashlytics or npm install –save @react-native-firebase/Crashlytics
- pen your /ios/{projectName}/AppDelegate.m file, and add the following:
• import firebase SDK: -
#import <Firebase.h> - (BOOL)application:(UIApplication *)application didFinishLaunchingWithOptions:(NSDictionary *)launchOptions { // Add me --- \/ [FIRApp configure]; // Add me --- /\ } - Run command cd ios && pod install
- To Configure at the android side you have to do the following steps:
- Add the following dependencies to your /android/build.gradle file:
-
buildscript { dependencies { // ... other dependencies classpath 'com.google.gms:google-services:4.3.10' } } - Add the following plugins to your /android/app/build.gradle file.
- apply plugin: ‘com.android.application’
apply plugin: ‘com.google.gms.google-services’ // <- Add this - Enable your android and iOS application from the firebase console in the Crashlytics section.
Till now I’ve only talked about how to configure it in react native. Now, We will see how to test it.
Using Crashlytics in React Native
Once your setup is complete, we’ll explore Crashlytics’ various APIs for debugging these crashes and bugs.
Fatal crashes
Apps may abruptly close because of code bugs or memory constraints, resulting in the system deciding to close your app.
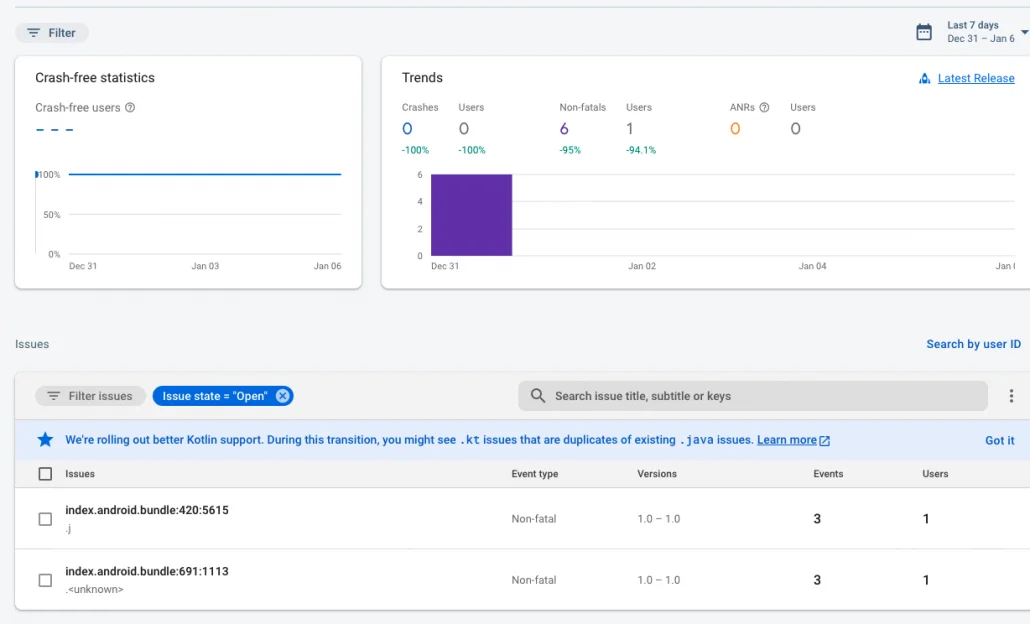
The Crashlytics SDK automatically tracks fatal crashes and syncs them on the next run. You can view the crash details using your Firebase Crashlytics console.
A Firebase console offers stack trace and device details for crashed apps. Furthermore, you can view the crash’s finer details by clicking on it.
Non-fatal crashes
Your code probably handles non-fatal crashes gracefully, but it is still helpful to know when they occur. Your app will not abruptly close when you use these. Non-fatal bugs prevent users from using certain features of your app (that’s why they’re called non-fatal bugs).
Database failures and server call failures are a few examples. Furthermore, certain devices may experience specific issues due to manufacturing conditions, which may be encountered in the general development cycle but can arise unexpectedly.
Additionally, It is also essential to record these crashes. You can record these errors with the recordError API provided by React Native Crashlytics.
crashlytics().recordError(error);
Here’s a small example:
const getUserDetailsFromBackend = () => {
                BackendAPIService.fetchUserDetails()
                .then(response => {
                setUserDetails(response);
                })
                .catch(error => {
                // This is the function you can use to record this error.
                crashlytics().recordError(error);
                setUserDetailFetchError(error)
                });
                };
A fatal crash is recorded by this API, capturing the stack trace and other information. Alternatively, you can view them in the Firebase console. If you want only non-fatal crashes to appear in the console, you can filter it to show only them by default.
Logging errors in Crashlytics
Although Crashlytics in React native records the stack traces of fatal and non-fatal crashes. Besides, crash diagnosis is sometimes a difficult task even after the stack trace. Crawling through logs, debugging tools or the context look is usually required to detect the main reason.
Thus, logging the messages during the app session is helpful in replaying the crashes after they have been received by crashlytics. These logs are the sources of the important information about the state of the app and the events that caused the crash, thus, they are very useful to the diagnosis. The log API is a means of using it.
const signInUser = (email: string, password: string) => {
                userSignIn({email, password})
                  .then(response => {
                    if (response.userSignInSuccessful) {
                      // Keep logging the most important parts of the sessions so that
                      // if a crash occurs post this log, you can be sure the
                      // path your app took before it crashes
                      crashlytics().log(`User has signed in`);
                    } else {
                      crashlytics().log(
                        `User not present, proceeding with the user creation process,
                      );
                      proceedWithUserCreationProcess();
                    }
                  })
                  .catch(error => {
                    crashlytics().recordError(error);
Disabling crash data collection
Offering users the ability to own the crash information is the key for the safety. Besides, respecting the user privacy choices is the key that fosters trust and gives the user the chance to decide if they want to join the crash reporting for the app stability. Furthermore, use the following API to toggle this collection Configuration: crashlytics().setCrashlyticsCollectionEnabled(true) // or you can set it to false
Crashlytics Testing
We can plug Crashlytics by making a crash with the crash() method and with the log() method to get the details of the crash.
Example:
import React, { useEffect } from 'react';
                import { View, Button } from 'react-native';
                import Crashlytics from '@react-native-firebase/Crashlytics';
                const App=()=>{
After a successful crash, you can see results in the react-native-firebase crashlytics console.
How partnering with Bigscal helps?
The efforts involved in create applications in React Native are determined by the complexity of the app, its features, design, and developers’ experience. Hence, the most important thing is to create applications in React Native for creating applications and integrating crashlytics. Our knowledge will guarantee the smooth integration, the accurate crash tracking and the right resolution of the bugs. Bigscal supports clients in the improvement of app stability, user experience and the problem solving of the time issues, which in turn results in the project’s overall success.
Conclusion
This article is about how you can set up and use crashlytics react-native, for instance, finding out the exact point of the crash and giving the investigators a lot of important information.
FAQ
How do I check Firebase Crashlytics in react native?
In React Native with Firebase crashlytics, you can monitor crashes through the Firebase console, which displays crash reports and insights to help you analyze and resolve issues.
How do I check crash logs in react native?
Regarding debugging React Native applications, Logcat is a powerful tool. You can determine where the crash occurred using Logcat to analyze log messages and stack traces.
How do you resolve performance issues in React Native?
In Android apps, memory leakage may occur due to background processes that run unnecessarily. Furthermore, try utilizing scrolling lists like SectionList, FlatList, or VirtualList, instead of ListView.
How do I check for memory leaks in React Native?
Memory leaks cause your app’s memory consumption to increase while performing these functions. For iOS and Android devices, Instruments or Studio Profiler are the best ways to perform this test.
How do I view Crashlytics?
Android Studio requires Firebase and Crashlytics set up for you to see Crashlytics data. You can also use the Firebase Assistant in Android Studio to add Firebase and Crashlytics to your project. Go to Tools > Firebase, click Crashlytics, and follow the instructions.
What is a react-native force crash?
React native force crash is intentionally triggering an app crash for testing purposes. Furthermore, it helps developers identify and address issues related to crash reporting, error handling, and debugging mechanism.

